8.2.5 Deploying a Video Conference Server with Jitsi on VPS
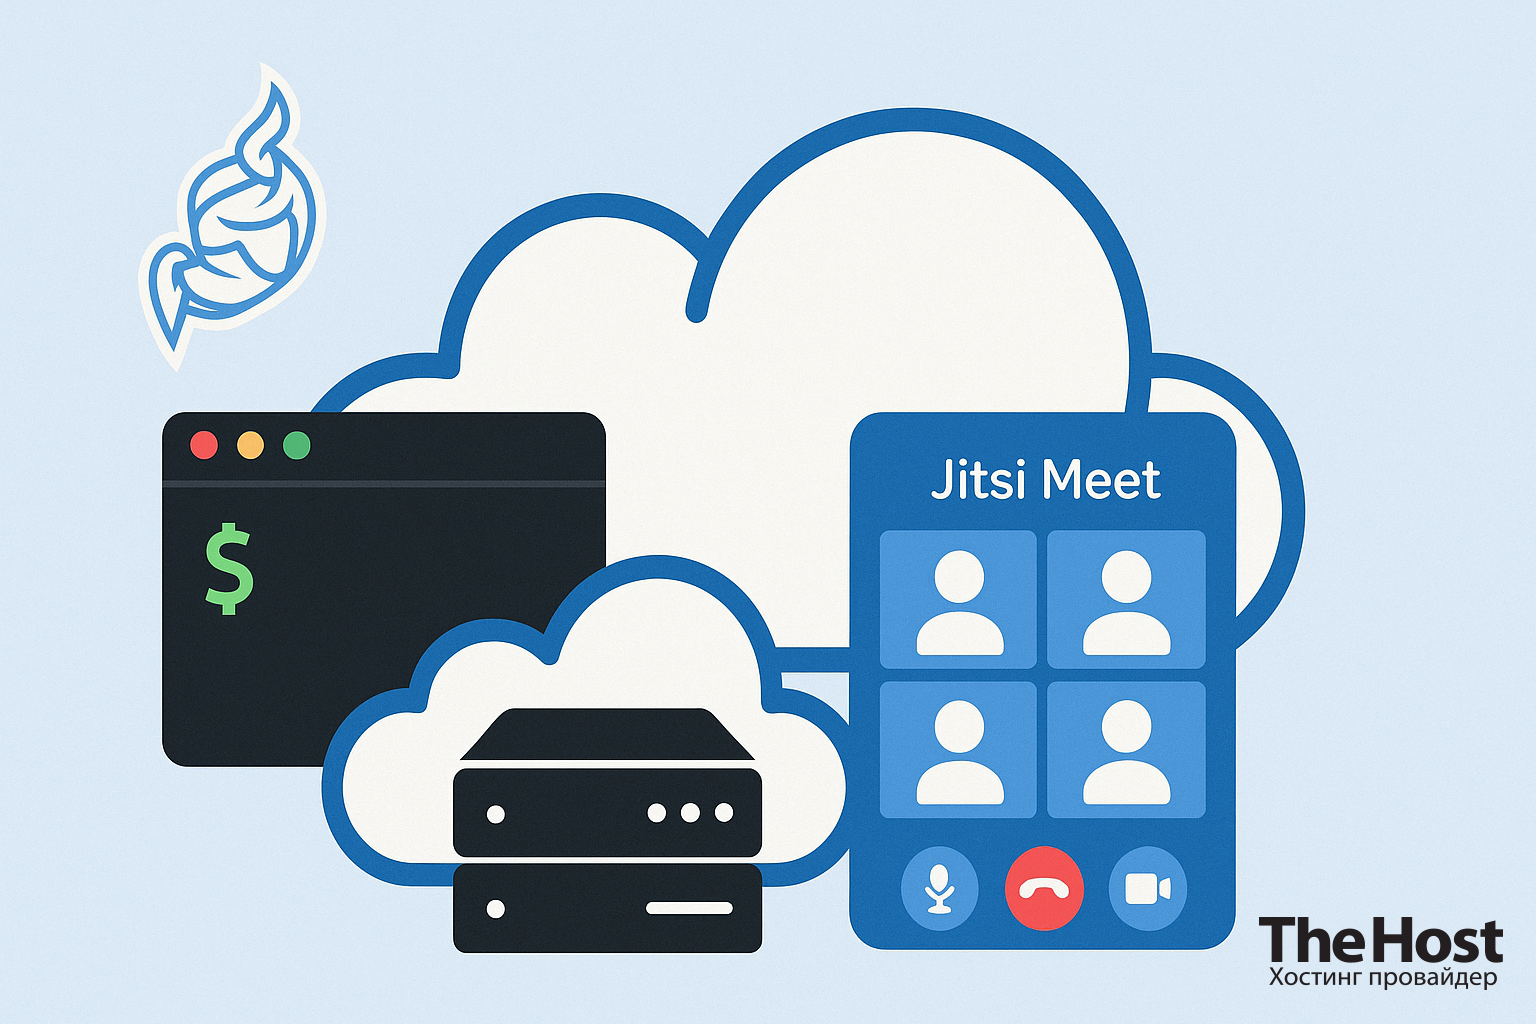
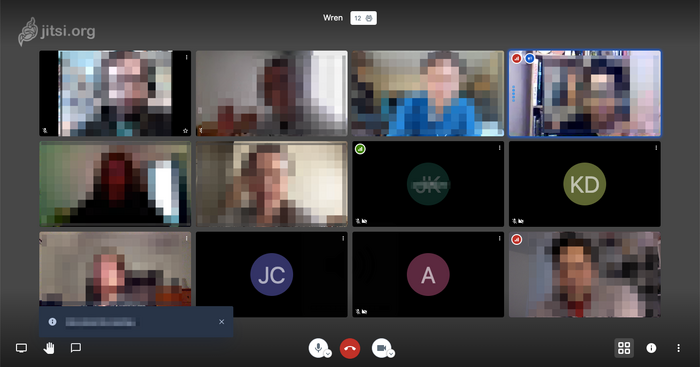
Jitsi is a free and open-source platform for organizing video conferences that can be deployed on a Virtual or Dedicated server. This is especially useful for companies and teams that need to control their data and avoid limitations of third-party services. In this guide, we will step by step install Jitsi Meet on a Virtual server with Ubuntu OS and ensure it works through HTTPS.
System Requirements
For Jitsi to work correctly, the following is recommended:
- VPS with Ubuntu 20.04 or 22.04;
- Minimum 2 GB RAM (4+ GB is better for conferences with 5+ participants);
- 1 CPU, 2+ is better;
- Domain name pointing to the server’s IP;
- Root rights or sudo access
If you don’t have a domain name, you can purchase one here.
Server Preparation
First, make sure your domain is pointed to the server’s IP address. Go to https://thehost.ua/domains/checkup and enter your domain name.

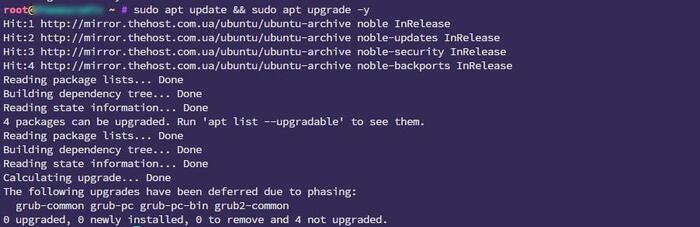
Update the system:
sudo apt update && sudo apt upgrade -y
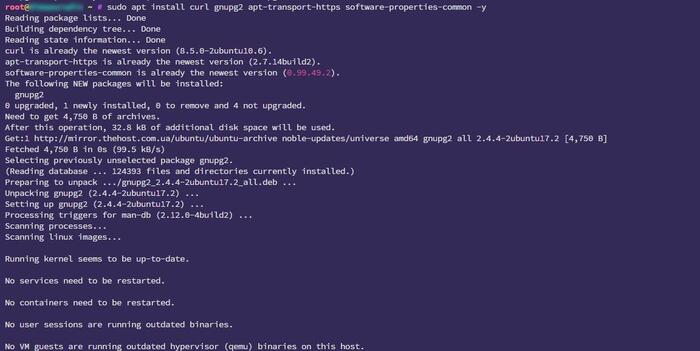
Install the necessary utilities:
sudo apt install curl gnupg2 apt-transport-https software-properties-common -y
Installing Jitsi
Add the Jitsi repository:
sudo apt install curl gnupg2 -y
curl https://download.jitsi.org/jitsi-key.gpg.key | sudo gpg --dearmor -o /usr/share/keyrings/jitsi-keyring.gpg

Create the repository file:
echo 'deb [signed-by=/usr/share/keyrings/jitsi-keyring.gpg] https://download.jitsi.org stable/' | sudo tee /etc/apt/sources.list.d/jitsi-stable.list
Important: before installing Jitsi Meet, you need to install an SSL certificate for your domain name.
You can install a free SSL certificate by following our instruction.
Installing Jitsi Meet
Proceed to install Jitsi Meet
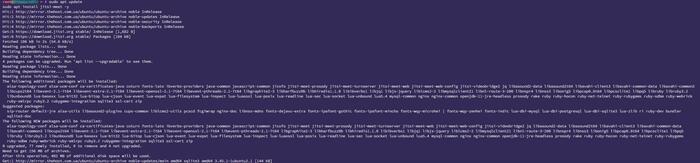
sudo apt update
sudo apt install jitsi-meet -y
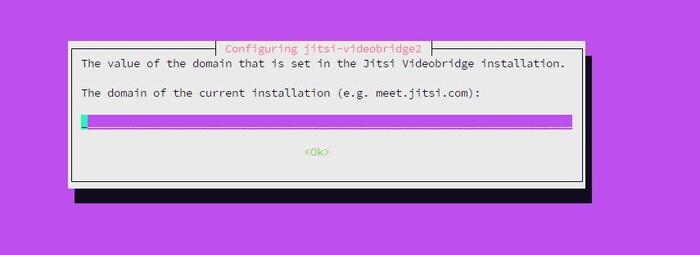
Specify your domain (for example, meet.example.com);
 Choose the Let’s Encrypt certificate.
Setting Up Authorization and Restrictions
By default, Jitsi allows any user to create conferences. To restrict this: Open the file:
sudo nano /etc/prosody/conf.avail/meet.example.com.cfg.lua
Change:
authentication = "internal_plain"
Add a user:
sudo prosodyctl register moderator meet.example.com
Then restart the services:
sudo systemctl restart prosody
sudo systemctl restart jicofo
sudo systemctl restart jitsi-videobridge2
Configuring the Firewall
Open the necessary ports using (UFW):
sudo ufw allow 80/tcp
sudo ufw allow 443/tcp
sudo ufw allow 10000/udp
sudo ufw allow 22/tcp
sudo ufw enable
Important: Port 10000/UDP is used for WebRTC video streaming. Without it, video and audio will not work.
Alternatively or additionally — configuring iptables:
# Allow SSH
sudo iptables -A INPUT -p tcp --dport 22 -j ACCEPT

# Allow HTTP
sudo iptables -A INPUT -p tcp --dport 80 -j ACCEPT

# Allow HTTPS
sudo iptables -A INPUT -p tcp --dport 443 -j ACCEPT

# Allow WebRTC (UDP 10000)
sudo iptables -A INPUT -p udp --dport 10000 -j ACCEPT

# Allow established connections and loopback
sudo iptables -A INPUT -m conntrack --ctstate ESTABLISHED,RELATED -j ACCEPT
sudo iptables -A INPUT -i lo -j ACCEPT

# Reject everything else (default)
sudo iptables -P INPUT DROP
sudo iptables -P FORWARD DROP
sudo iptables -P OUTPUT ACCEPT
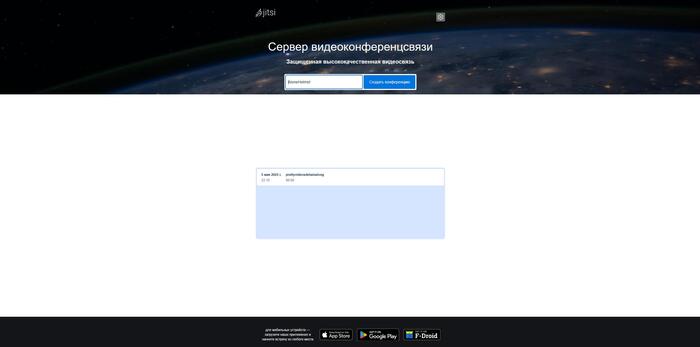
After the above actions, check the service’s operation in the browser. Go to the domain address you are using or the IP address of your server. A conference creation window should open in the browser.
Information: For additional information, you can use the official resources:

